
Dental Impression Kit Instructions
Dental impression kit
Get your dental impression right
Your custom-fit mouthguard: the impression is taken at home, in 5 steps. This page follows the video tutorial exactly. Read it through once before opening the kit, then keep it in front of you while taking the impression.
On video: the 5 steps in 2 minutes
Before you start
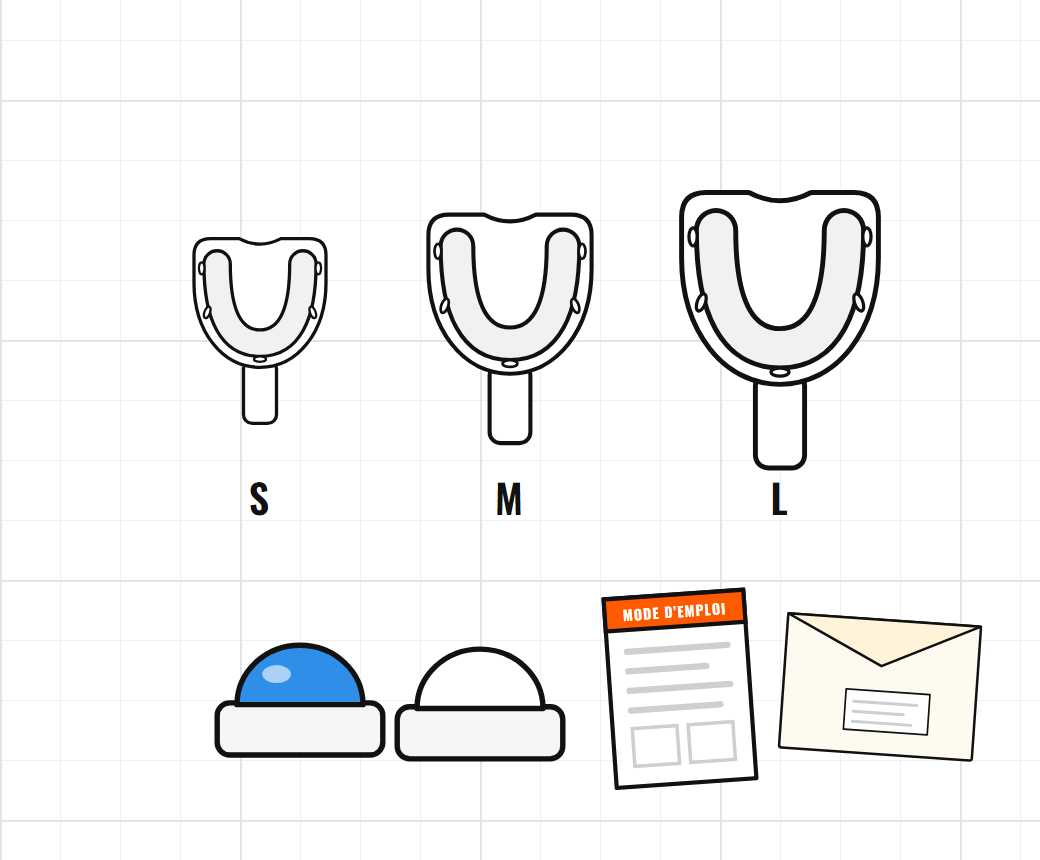
What your kit contains
- 3 impression trays in different sizes.
- The silicone putties: one blue and one white.
- The instructions, to be returned with your name.
- A padded envelope for the return.
About 5 minutes
- 5 simple steps, to be completed in one go.
- As soon as it is mixed, the silicone starts to set: get everything ready before you begin.
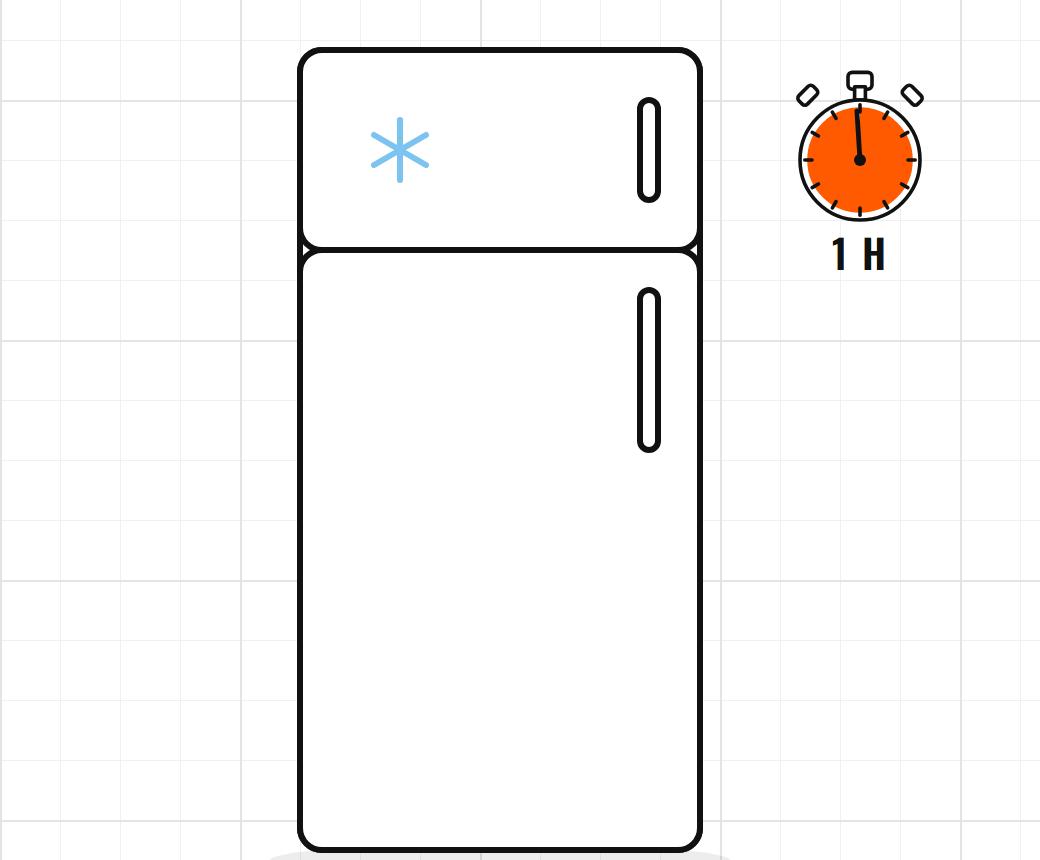
1 hour before
- Place the silicone putties in the fridge.
- Wait 1 hour before starting to take the impression.
- Take them out right before mixing.
Your checklist
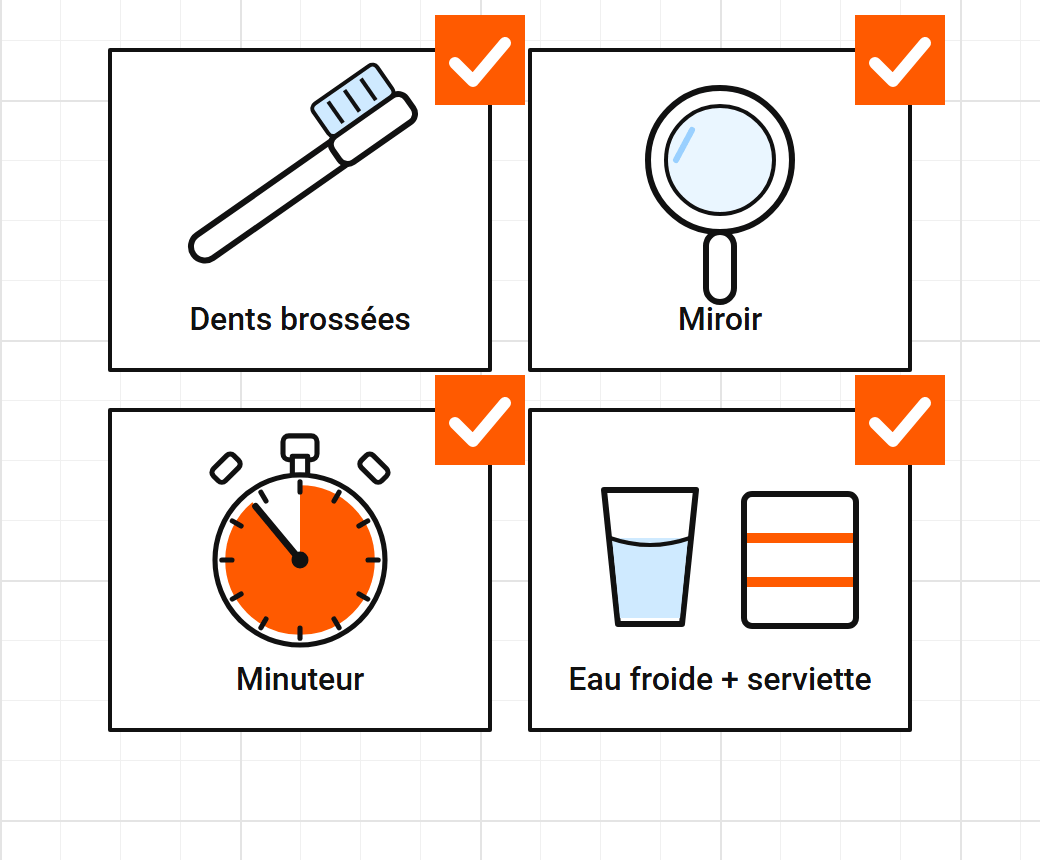
- Brush your teeth.
- Sit in front of a mirror.
- Have a timer ready.
- Keep cold water and a towel within reach.
- Teeth brushed
- Mirror
- Timer
- Cold water + towel
Not suitable for people undergoing orthodontic treatment, braces in particular. Proteksports is not responsible for any damage while taking the impression.
The 5 steps
Step 1 / 5
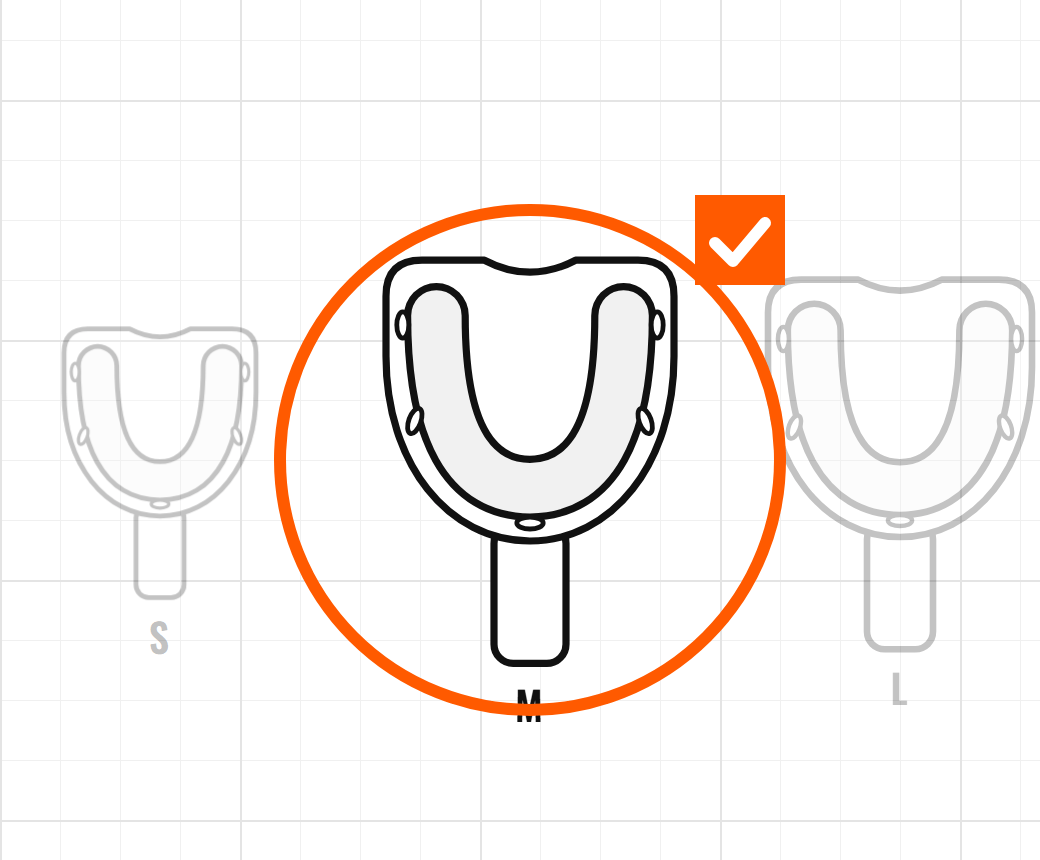
Choose the right impression tray
- Try the impression trays supplied, empty.
- Keep the one that covers all your teeth, with a little space on the sides.
- It may be a little wide, but your lips must close around it.
Step 2 / 5
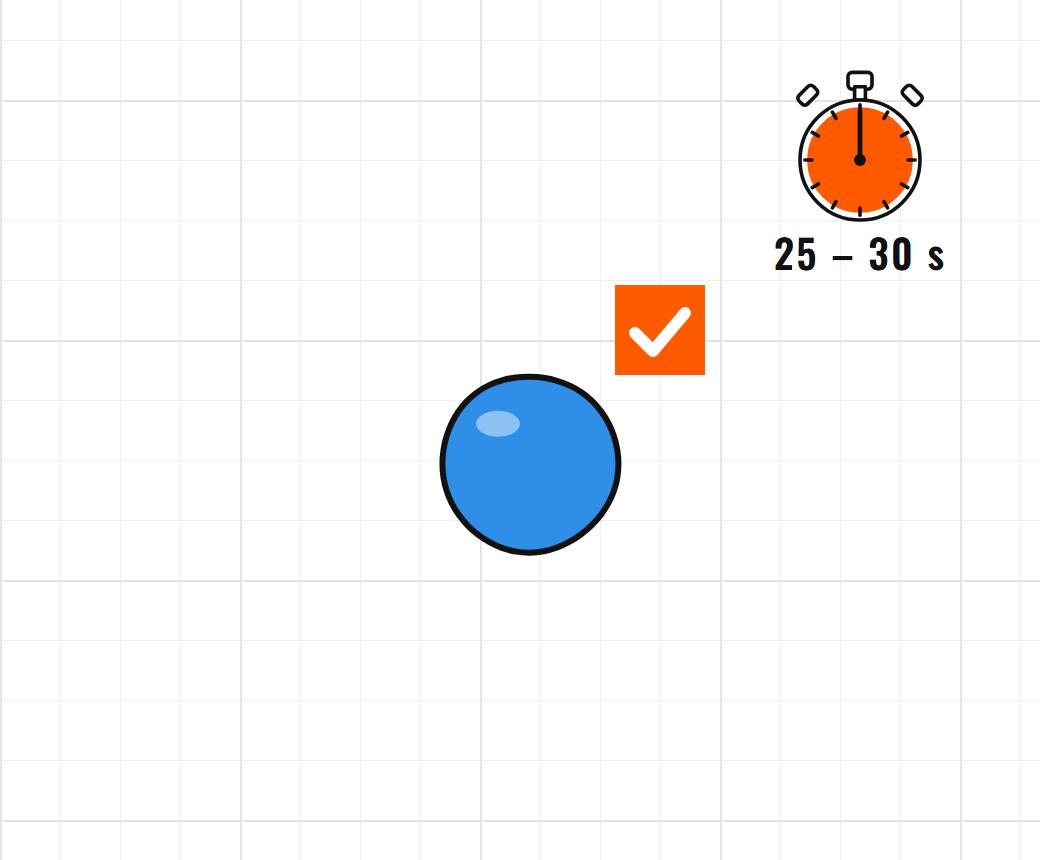
Prepare the silicone putty
- Take one blue putty and one white putty.
- Mix them by hand for 25 to 30 seconds.
- Until it is an even colour, with no white streaks at all.
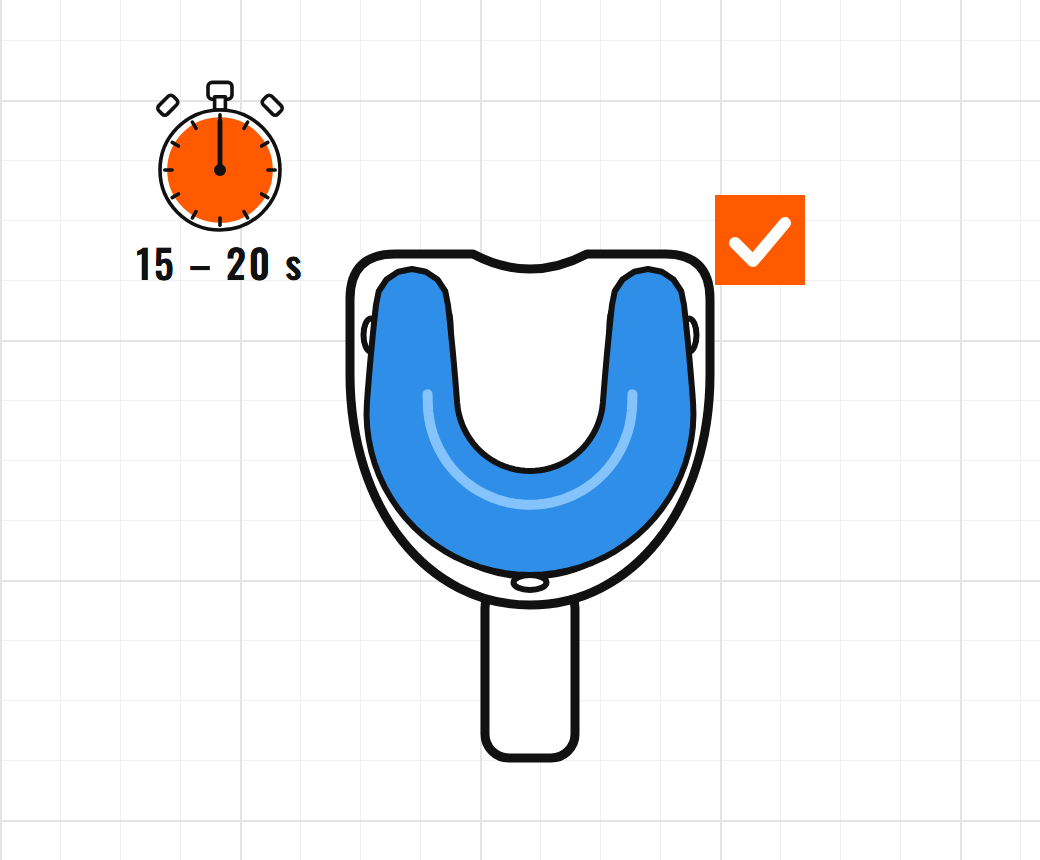
- Form a roll, slightly thicker in the centre.
- Place it evenly in the impression tray.
- You have about 15 to 20 seconds.
The silicone starts to harden as soon as you begin mixing. Be quick and go through the steps without waiting.
Step 3 / 5
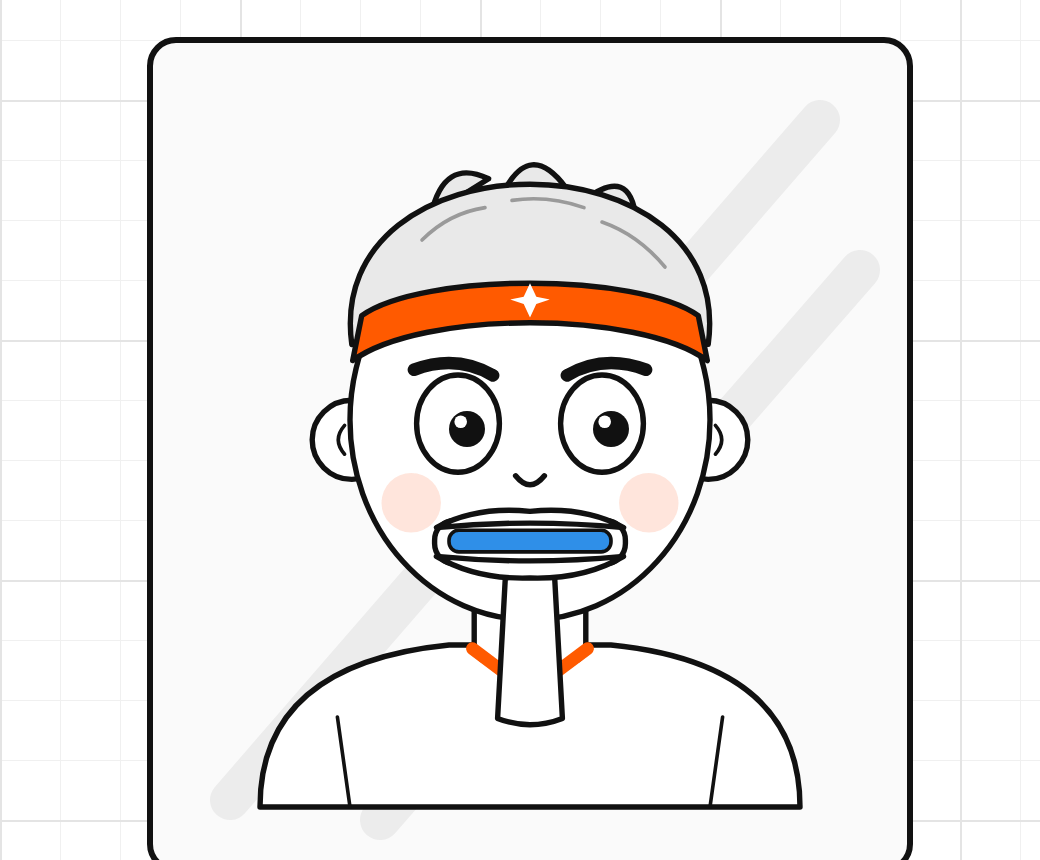
Take the impression
- In front of a mirror, line your teeth up with the centre of the roll.
- Bite down gently, only once, all the way to the bottom of the impression tray.
- Don't move for 3 minutes.
Step 4 / 5
Remove and check
- Remove gently, rocking back and forth.
- Rinse in cold water.
- All your teeth must leave a clear mark.
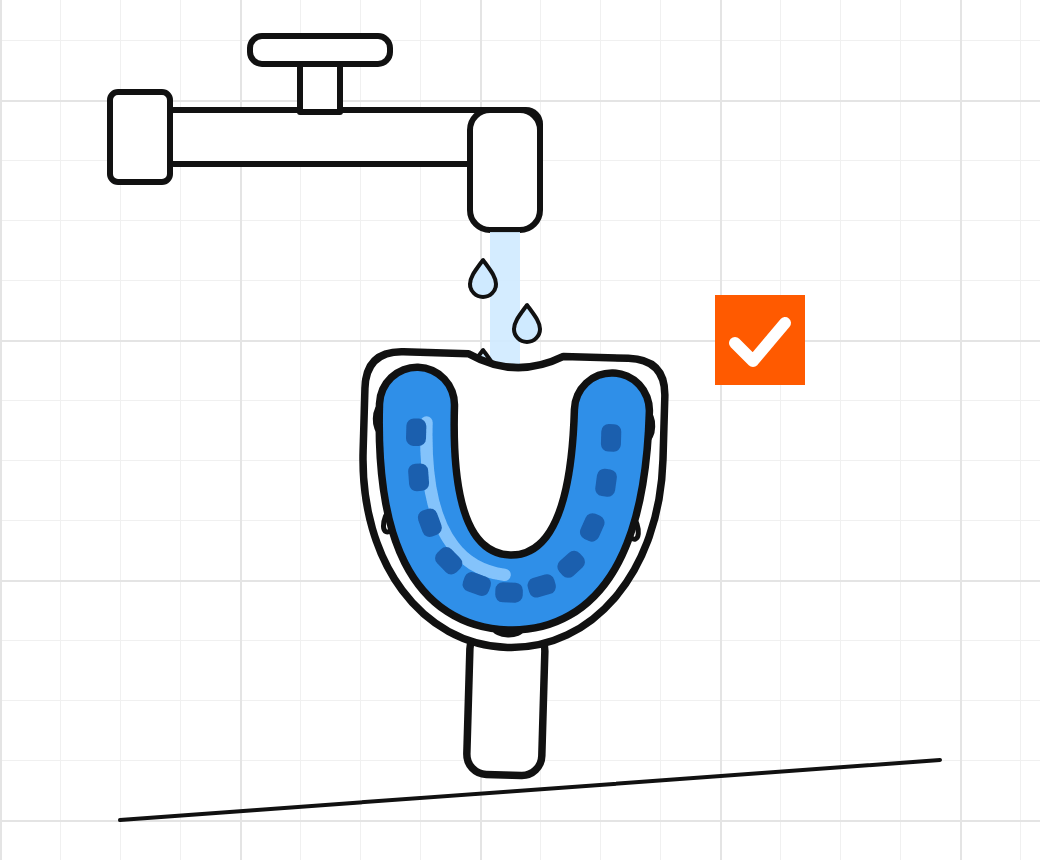
Valid impression: every tooth is marked Do not remove the silicone from the impression tray!
Step 5 / 5
Get your impression approved
- Take a clear photo of your impression.
- Send it by e-mail for approval: contact@proteksports.fr.
- Acceptable: leave it in the impression tray, in the bag.
- Not acceptable: order extra putties and start again.
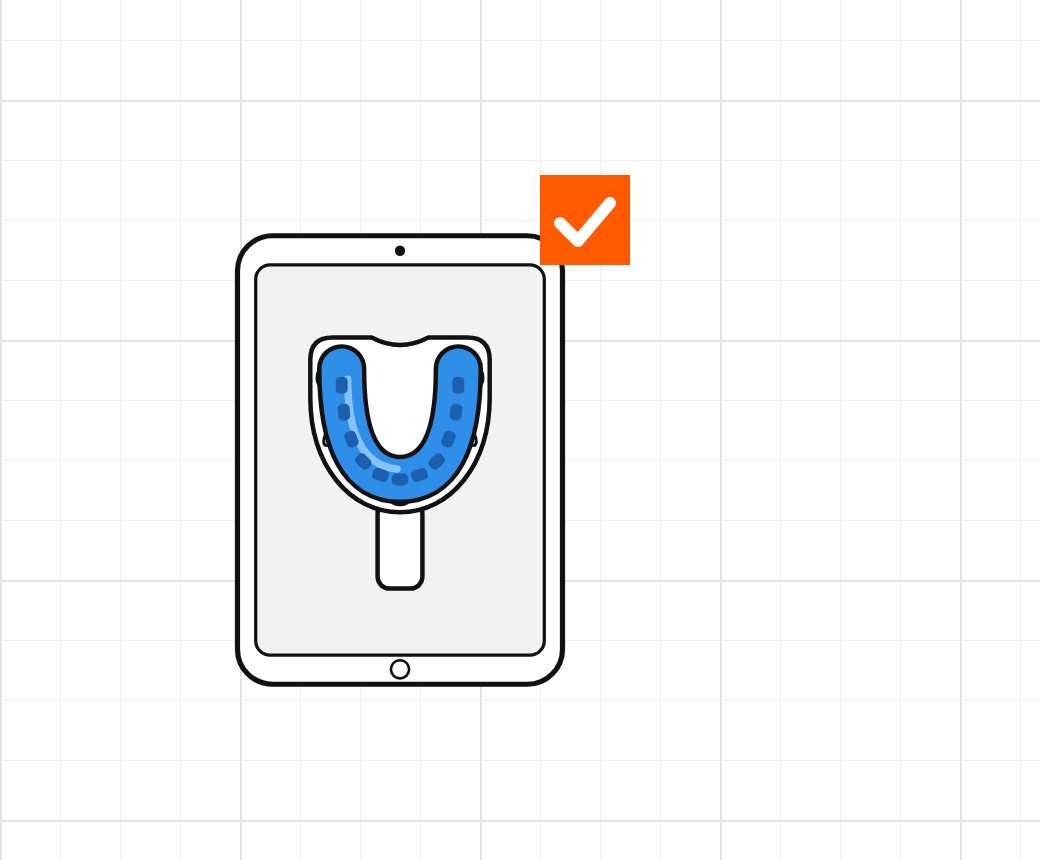
Send back your impression
- Write your name at the top of the instructions.
- Slip the approved impression, the instructions and any unused materials into the padded envelope.
Proteksports
7 rue Saint Fiacre
77100 Meaux
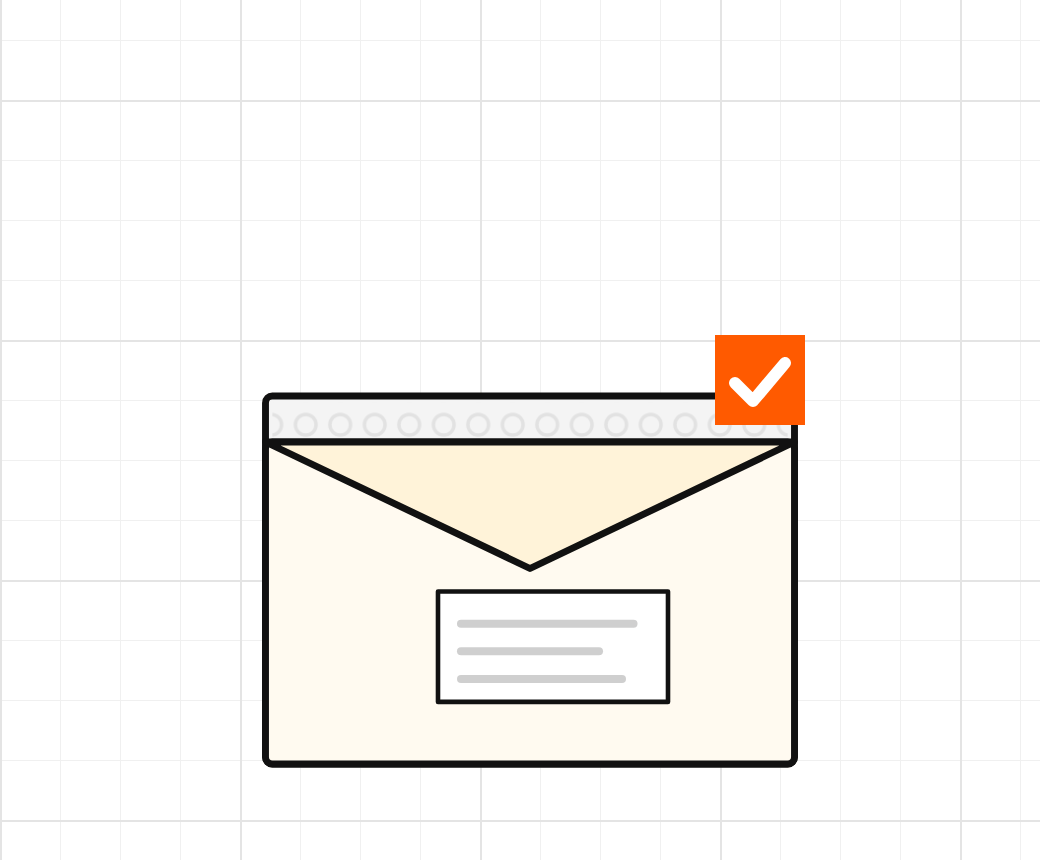
Once you have received the mouthguard, all that remains is to record the impression of your lower teeth: take the bite registration.
Frequently Asked Questions
Before you start
Why put the putties in the fridge beforehand?
Cold slows down the setting of the silicone. Kept in the fridge for 1 hour and taken out just before mixing, the putties give you time to get an even colour, roll the putty into a sausage shape and place it in your mouth before it hardens.
How long does taking the impression take?
About 5 minutes, done in one go: 25 to 30 seconds of mixing, 15 to 20 seconds to form the roll and place it, then 3 minutes in your mouth without moving. Get the mirror, timer, cold water and towel ready before opening the putties.
Other questions
I moved or bit twice: what should I do?
Biting twice or moving during the 3 minutes distorts the impression. Send the photo to contact@proteksports.fr anyway: if the impression isn't usable, order an extra pair of putties and start again, biting only once.
Is it difficult to take your own dental impression?
No, taking the impression is simple if you follow the steps in order. The most important things are to centre the impression tray properly, press down firmly enough and keep still while it sets.
What should I do if my impression has failed?
Send a photo to contact@proteksports.fr before returning the kit. We will tell you whether the impression is usable or needs to be taken again with the remaining putties.
Before sending
How do I know if my impression is valid?
A valid impression shows the teeth clearly, with enough depth and no significant distortion. The teeth must not be too close to the edges.